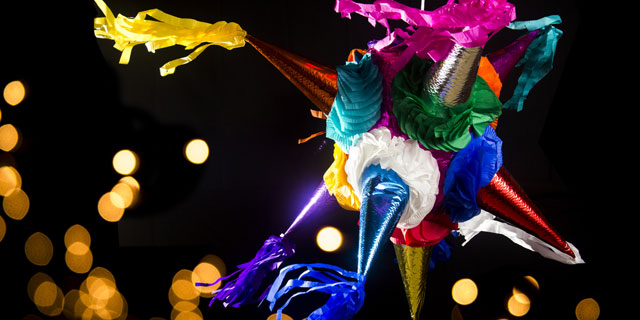
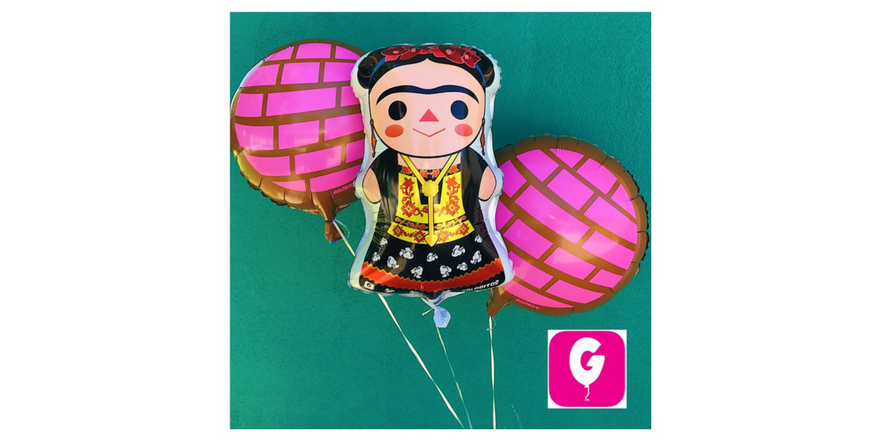
Remember how much fun piñatas were as a child? Birthday parties, barbecues, and summer picnics were just a bit more playful when accompanied by a colorful piñata decorated with streamers, tissue paper, and beads stuffed with chewy candies waiting to be released. The piñata served first as a decoration… until it became time to break it to pieces. Celebrities – and not just Latino celebrities – have long been fans of using piñatas as entertainment at their children's parties.
But as beloved as they are, it's not always easy (or cheap) to secure the piñata you might want. So why not gather your supplies and a willing assistant, and make your own?
First, some background. Piñatas have a long, colorful history that actually dates back to China, not Mexico. The Chinese decorated piñatas in the shape of a cow and ox for Chinese New Year. From there the tradition went to Europe before arriving in Mexico to be combined with a Mayan tradition that included blindfolding the person hitting the piñata. This leads us to the piñata rituals we know today.
Summer is the perfect time add piñatas at your event. Whether it’s a backyard cookout, a child’s birthday party, or rooftop gathering, you can add to the festivities with a colorful DIY piñata.
Before starting, gather up your supplies. To make a basic piñata, you’ll need:
- a 14-inch balloon
- a 10-inch bowl
- a batch of papier-mâché paste
- papier-mâché strips (tear some newspaper into strips that are about 1 to 2 inches wide and 6 to 8 inches long)
- sheets of tissue paper in bright colors
- craft glue
- craft paint
- a hole punch
- ribbon
- pin or scissors
- about 4 pounds of candy
Next, find a work area to build your piñata… [pagebreak]
Now, you need a work area. Making a piñata can get a bit messy. Amanda Duncan of Brit + Co., an online platform dedicated to helping people make and create, says one of their must-dos is to put down a mess sheet.
“Don’t be precious about it, it’s messy work,” Duncan said.
Next, prepare your papier-mâché paste and strips. Then blow up your balloon. This is the size that the piñata will be, so make it big enough to hold all the candy or toys you have. If you want something besides a round piñata, you can make different shapes by using cardboard and construction paper and taping the shapes on to the round piñata. Brit + Co., has some examples.
Apply the papier-mâché paste to the strips and place the strips on the balloon. To keep the balloon from bouncing away, place it in a bowl and it will stay steady and simply turn as you work. And to make a sturdy piñata, Duncan recommends applying three layers of strips to cover the balloon. But since you don't have to let them dry between layers, it should be speedy work.
You should, however, let it dry before decorating. The last step before decorating is to paint the piñata with some craft paint. This will help smooth out the edges. Once the paint is dry, use your craft glue to paste on the tissue paper. Duncan suggests using Italian crepe paper for a more upscale look. Match the piñata to your color scheme or use your kids' favorite color. Whatever you do, don’t cover the end of the balloon where you tied it.
After you decorate it, pop the balloon with a pin or by cutting off the part where you tied the balloon. Remove the balloon and fill the piñata with candy. (You may need to widen the hole with your scissors to do this.) After you’ve filled the piñata with candy, punch two small holes near the main hole and tie a string or balloon to the holes to create a loop. This is what you’ll use to hang the piñata. Finally, cover the hole with tissue paper. Now you’re ready to hang it up for your party.
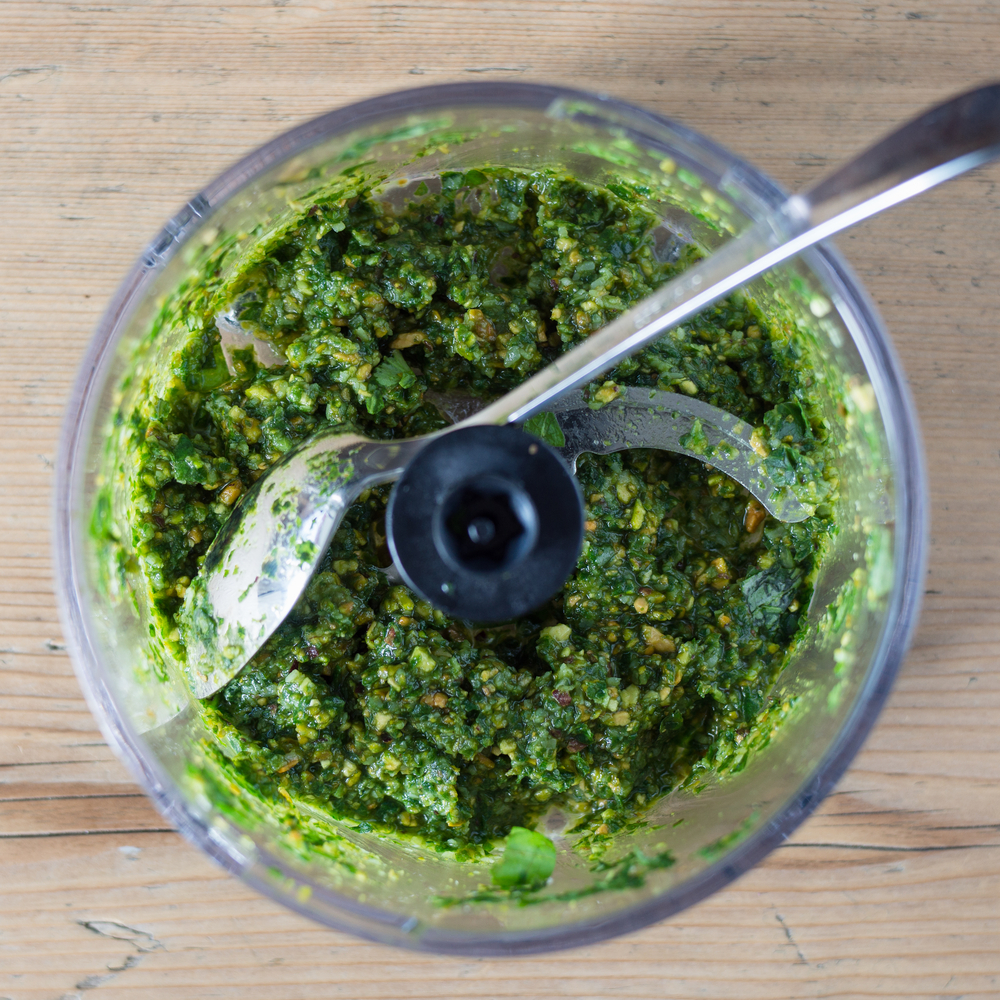
![Making Mealtime Matter with La Familia: Easy Sofrito [Video]](https://thelatinkitchen.com/wp-content/uploads/2015/10/sofrito-shutterstock__0-500x383.jpg)
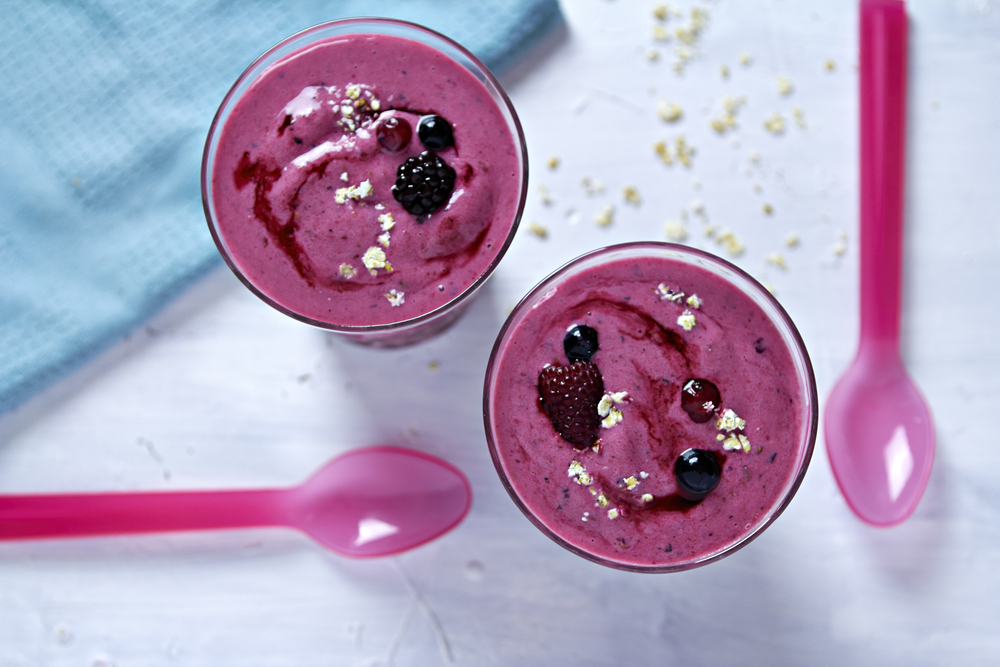
![Easy Latin Smoothies: Goji Berry Smoothie [Video]](https://thelatinkitchen.com/wp-content/uploads/2015/12/goji_berry-shutterstock_-500x383.jpg)


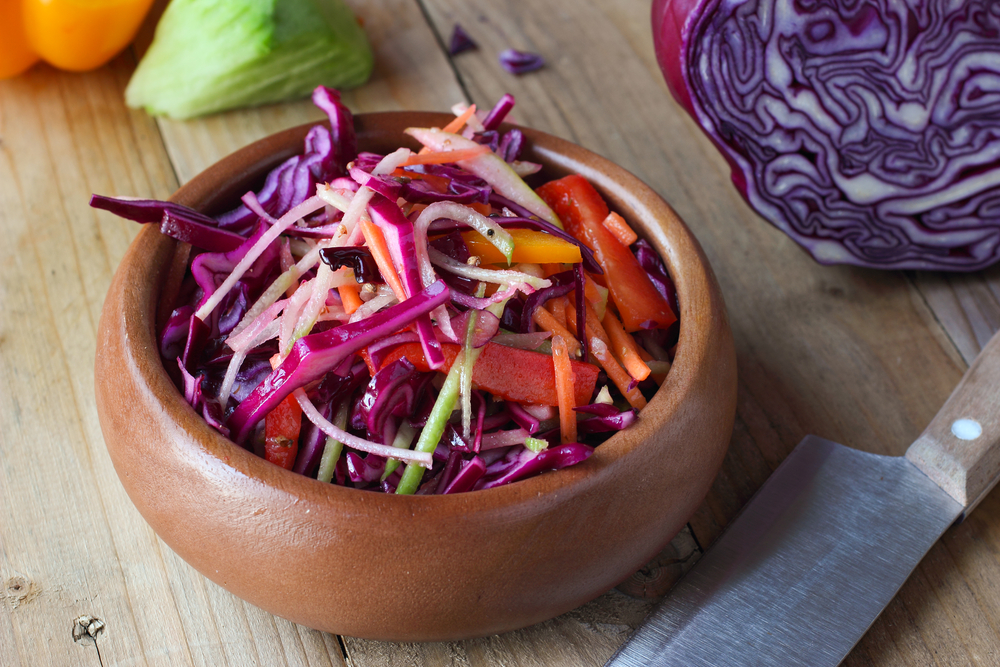
![Fun and Fast Recipes: Fiesta Cabbage Salad [Video]](https://thelatinkitchen.com/wp-content/uploads/2015/11/fiesta_cabbage_slaw-shutterstock_-500x383.jpg)

